컴퓨터 공부/Record : no.01 - Ohju Project
Login : No.11_Service + IMapper + Mapper 코딩
오주현
2021. 7. 22. 23:59
반응형
OhService와 IOhMapper, OhMapper 코딩을 합니다.
-
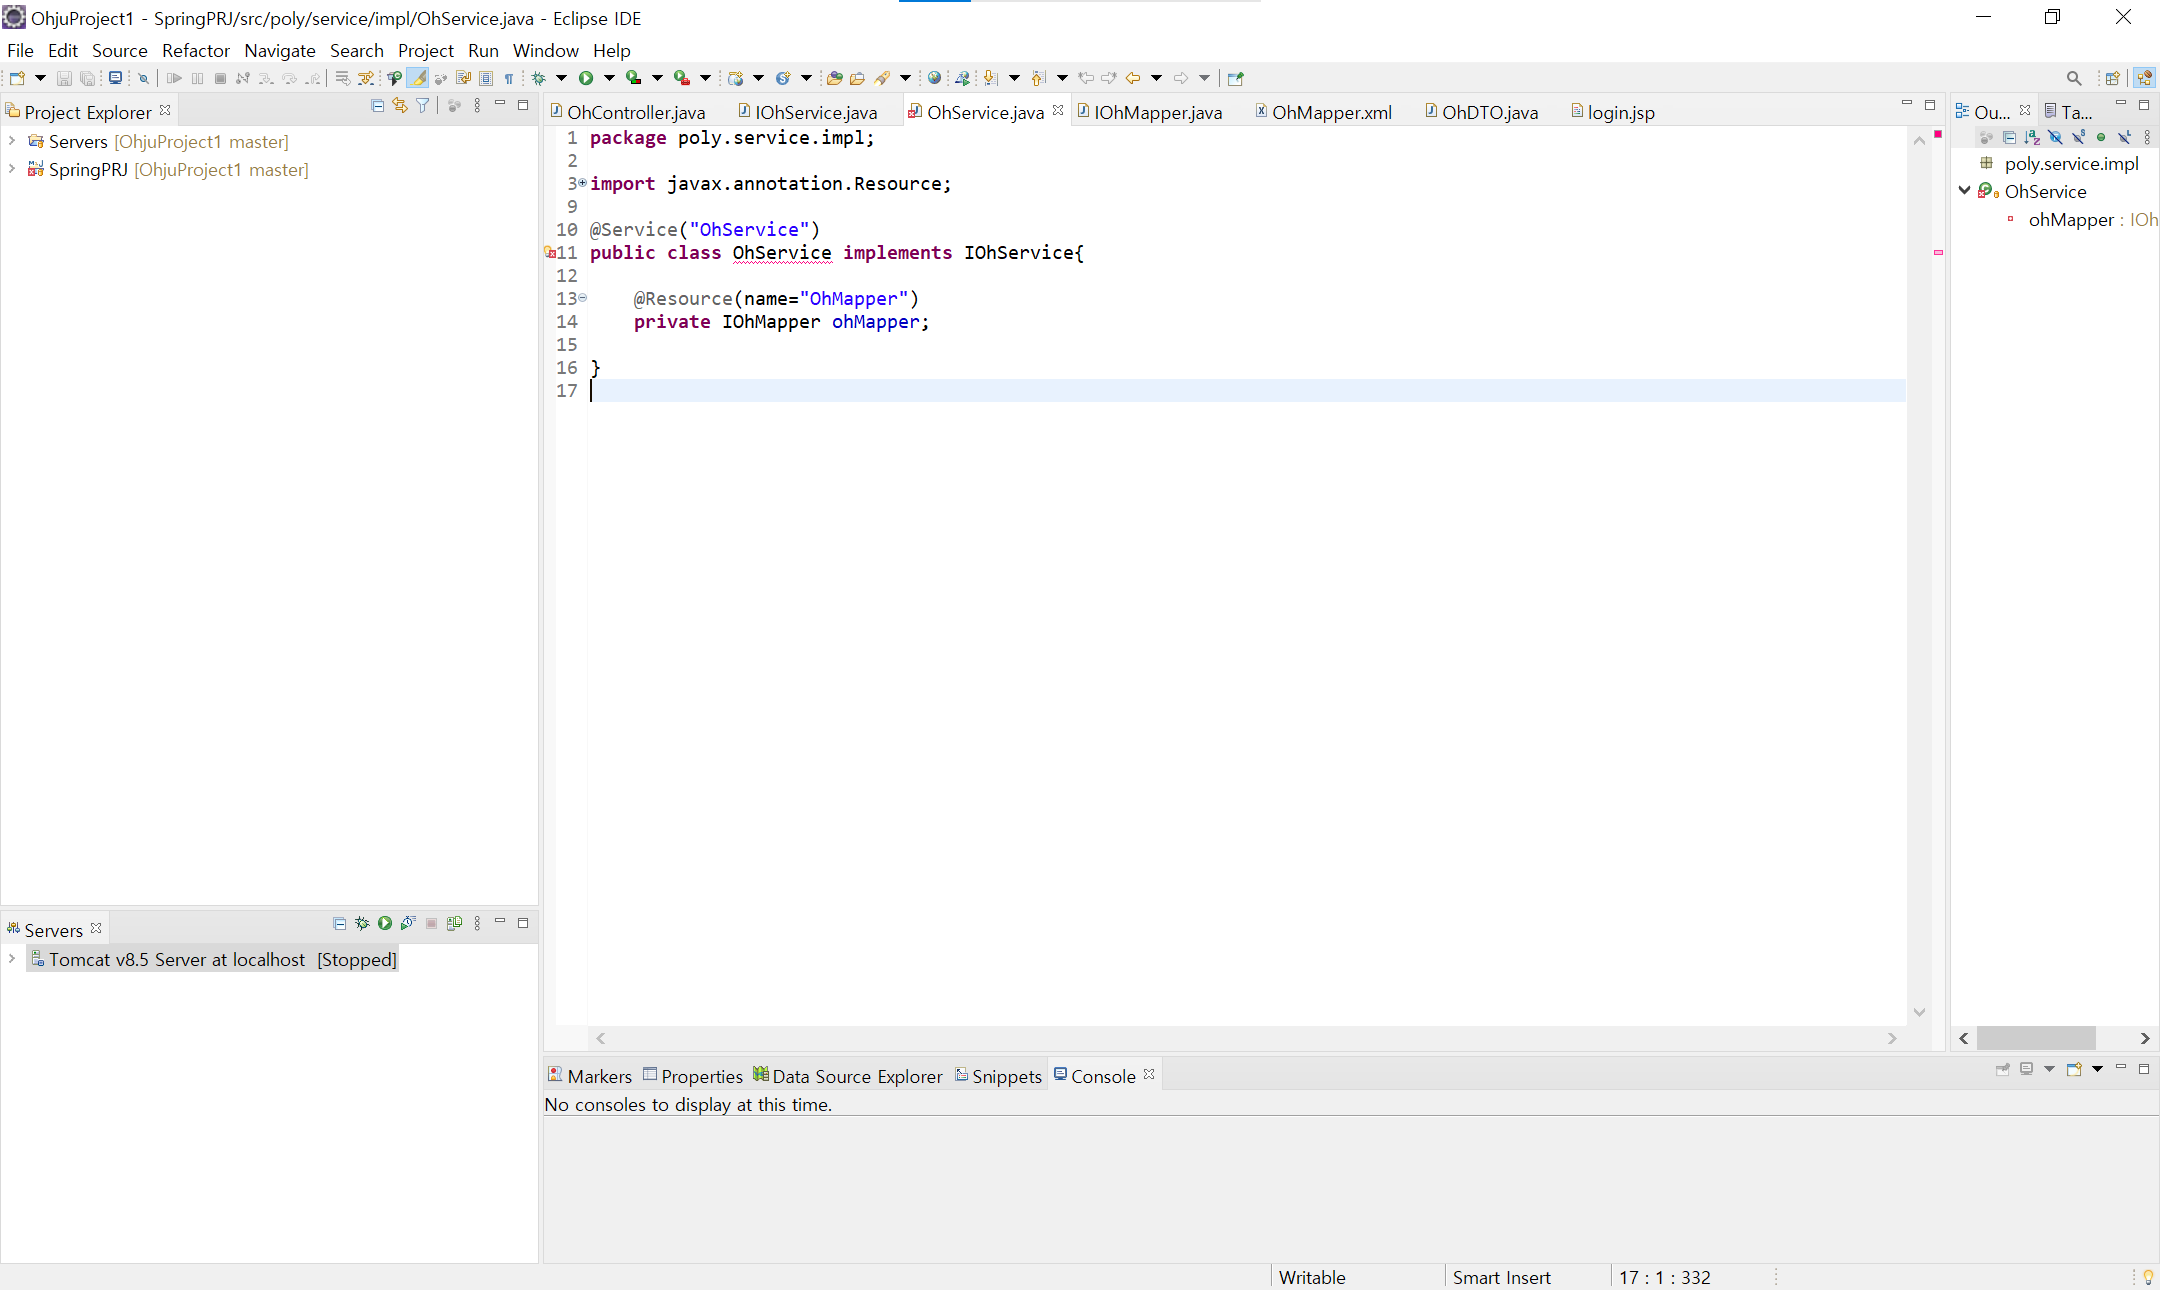
어노테이션(@)으로 Service단임을 알려줍니다.
OhSerivce에서 보면 public class 옆에 OhService에 빨간 밑 줄이 있습니다.
마우스를 올려 add해 줍니다.

밑 줄이 사라지고 아래 @Override가 생겼습니다.

주석으로 로그인과 나중에 작성할 회원가입을 구분해 주고 아래와 같이 로그인 코드를 작성해 줍니다.
package poly.service.impl;

import javax.annotation.Resource;

import org.springframework.stereotype.Service;

import poly.dto.OhDTO;
import poly.persistance.mapper.IOhMapper;
import poly.service.IOhService;

@Service("OhService")
public class OhService implements IOhService{

	@Resource(name="OhMapper")
	private IOhMapper ohMapper;

// ===================================  로그인  ======================================================================

	@Override
	public int checklogin(OhDTO oDTO) throws Exception {

		int res = 0;

		OhDTO hDTO = new OhDTO();
		hDTO = ohMapper.checklogin(oDTO);

		if(oDTO != null) {
			res = 1;
		}
		return res;
	}

// ===================================  회원가입  =====================================================================

}
hDTO = ohMapper.checklogin(oDTO); 이 라인에 빨간 밑 줄에 마우스를 올려 Create하고 저장해 줍니다.
그리고 IOhMapper로 가보면

위와 같은 코드가 생깁니다.

여기에 throws Exception을 넣어 예외처리를 해주고 OhMapper로 가줍니다.

OhMapper는 주석 처리 양식이 다릅니다.
확인을 하고 로그인과 회원가입을 구분해 줍니다.
아래와 같은 로그인 페이지 코드를 작성합니다.
따로 꾸밈 없이 간단한 코드를 작성했습니다.
<%@ page language="java" contentType="text/html; charset=UTF-8"
    pageEncoding="UTF-8"%>
<!DOCTYPE html>
<html>
<head>
<meta charset="UTF-8">
<title>Insert title here</title>
</head>
<body>
<form action="checklogin.do" method="Post">
	아이디 : <input type="text" name="id">
	비밀번호 : <input type="password" name="pwd">
	<input type="submit" value="login">
</form>
</body>
</html>
여기까지 작성하고 서버를 돌려보면 오류가 납니다.
다음 챕터에서 작동을 확인하고 오류를 수정하도록 하겠습니다.
반응형